Company:Dalian Kawahigashi Precision Manufacturing Co., Ltd
Contacts:QU JIAN
Mobile phone:15241160886
Q Q:475835879
Email:qujian@kawaritsu.com
Address:56-2 Life First Road, Dalian Economic and Technological Development Zone
Website : en.kawahigashi.cn
Website:www.kawahigashi.cn
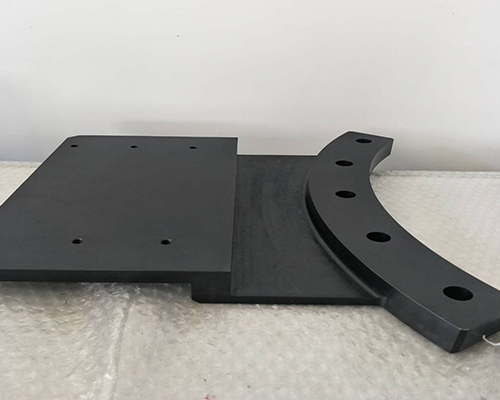
Does the dimension of Dalian precision parts from the processing position to the reference point meet the requirements of the drawings? The size of the positions of the processing parts should be measured accurately and timely after inspection. Mainly inspect the processing parts of the vertical and inclined planes and the size of the base points marked on the surveying drawings for approval. After completing the manual overhaul, the dismantled workpiece can be sent to the quality inspector for special inspection only after confirming that it meets the relevant requirements with the drawing process.
The platform moves in X and Z directions, and the spindle box moves in Y directions. The spindle box has two forms: positive hanging and side hanging on the column. It is suitable for boring and milling of medium and complex parts. The spindle box moves in cross direction, the spindle box moves in X and Z direction, and the worktable moves in Y direction. It is suitable for boring, milling and other processes of small and medium-sized parts. Non-standard parts processing and milling tools are being optimized from time to time to meet the needs of modern production, machine tools and information, and are widely accepted by all industries.
The speed of metal removal is increased several times, the cutting force is smaller and the orientation is better. After superfinishing, the surface roughness of the workpiece can reach R0.080.01 micron. The surface processing ripple routes cross each other to form oil film and improve the lubrication effect. Therefore, the wear resistance of the workpiece is better. The manufacturing and assembly errors of precision parts must be concentrated on the end parts of the transmission chain in the transmission process.
The non-uniformity of relative motion affects the machining accuracy of gear teeth. The variation of common normal length is a big error reflecting the uneven distribution of gear teeth, which is mainly caused by the uneven rotation accuracy of worm gear pair on the hobbing machine table and the wear of circular guide rail on the hobbing machine table.
The determination of the knife feed on the back (or side) of mechanical processing. On the premise of guaranteeing the quality of the machined surface, the back feed (ap) should be determined according to the stiffness of the machine tool, workpiece and tool. Under the condition of allowable stiffness, the back feed should be equal to the machining allowance of the workpiece as far as possible, so as to reduce the number of tool walking and improve the production efficiency.

Company:Dalian Kawahigashi Precision Manufacturing Co., Ltd
| 56-2 Life First Road, Dalian Economic and Technological Development Zone | 475835879 | |
| 15241160886 | qujian@kawaritsu.com |
Website : en.kawahigashi.cn
 |  |
| Official website | Wechat Public Number |